
Today we are exploring the basics behind respraying a classic car. Read on…
Respraying a classic car requires a lot of preparation and attention to detail to achieve a high-quality finish. Here is a step-by-step guide on how to respray a classic car:
- Preparation: The first step is to thoroughly clean and prepare the car’s body for painting. This includes removing all dirt, rust, and old paint, and making any necessary repairs to dents, rust spots or cracks in the body.
- Sanding: Next, the body is sanded to create a smooth surface for the new paint to adhere to. This may involve using different grades of sandpaper to remove the old paint and create a surface that is free of imperfections.
- Priming: After sanding, a primer is applied to the body to help the paint adhere better and to provide a uniform surface for the topcoat. The primer is allowed to dry thoroughly before moving on to the next step.
- Painting: The car is then painted with a basecoat, which provides the color and shine of the final paint job. After the basecoat has dried, a clearcoat is applied to give the paint depth and protection.
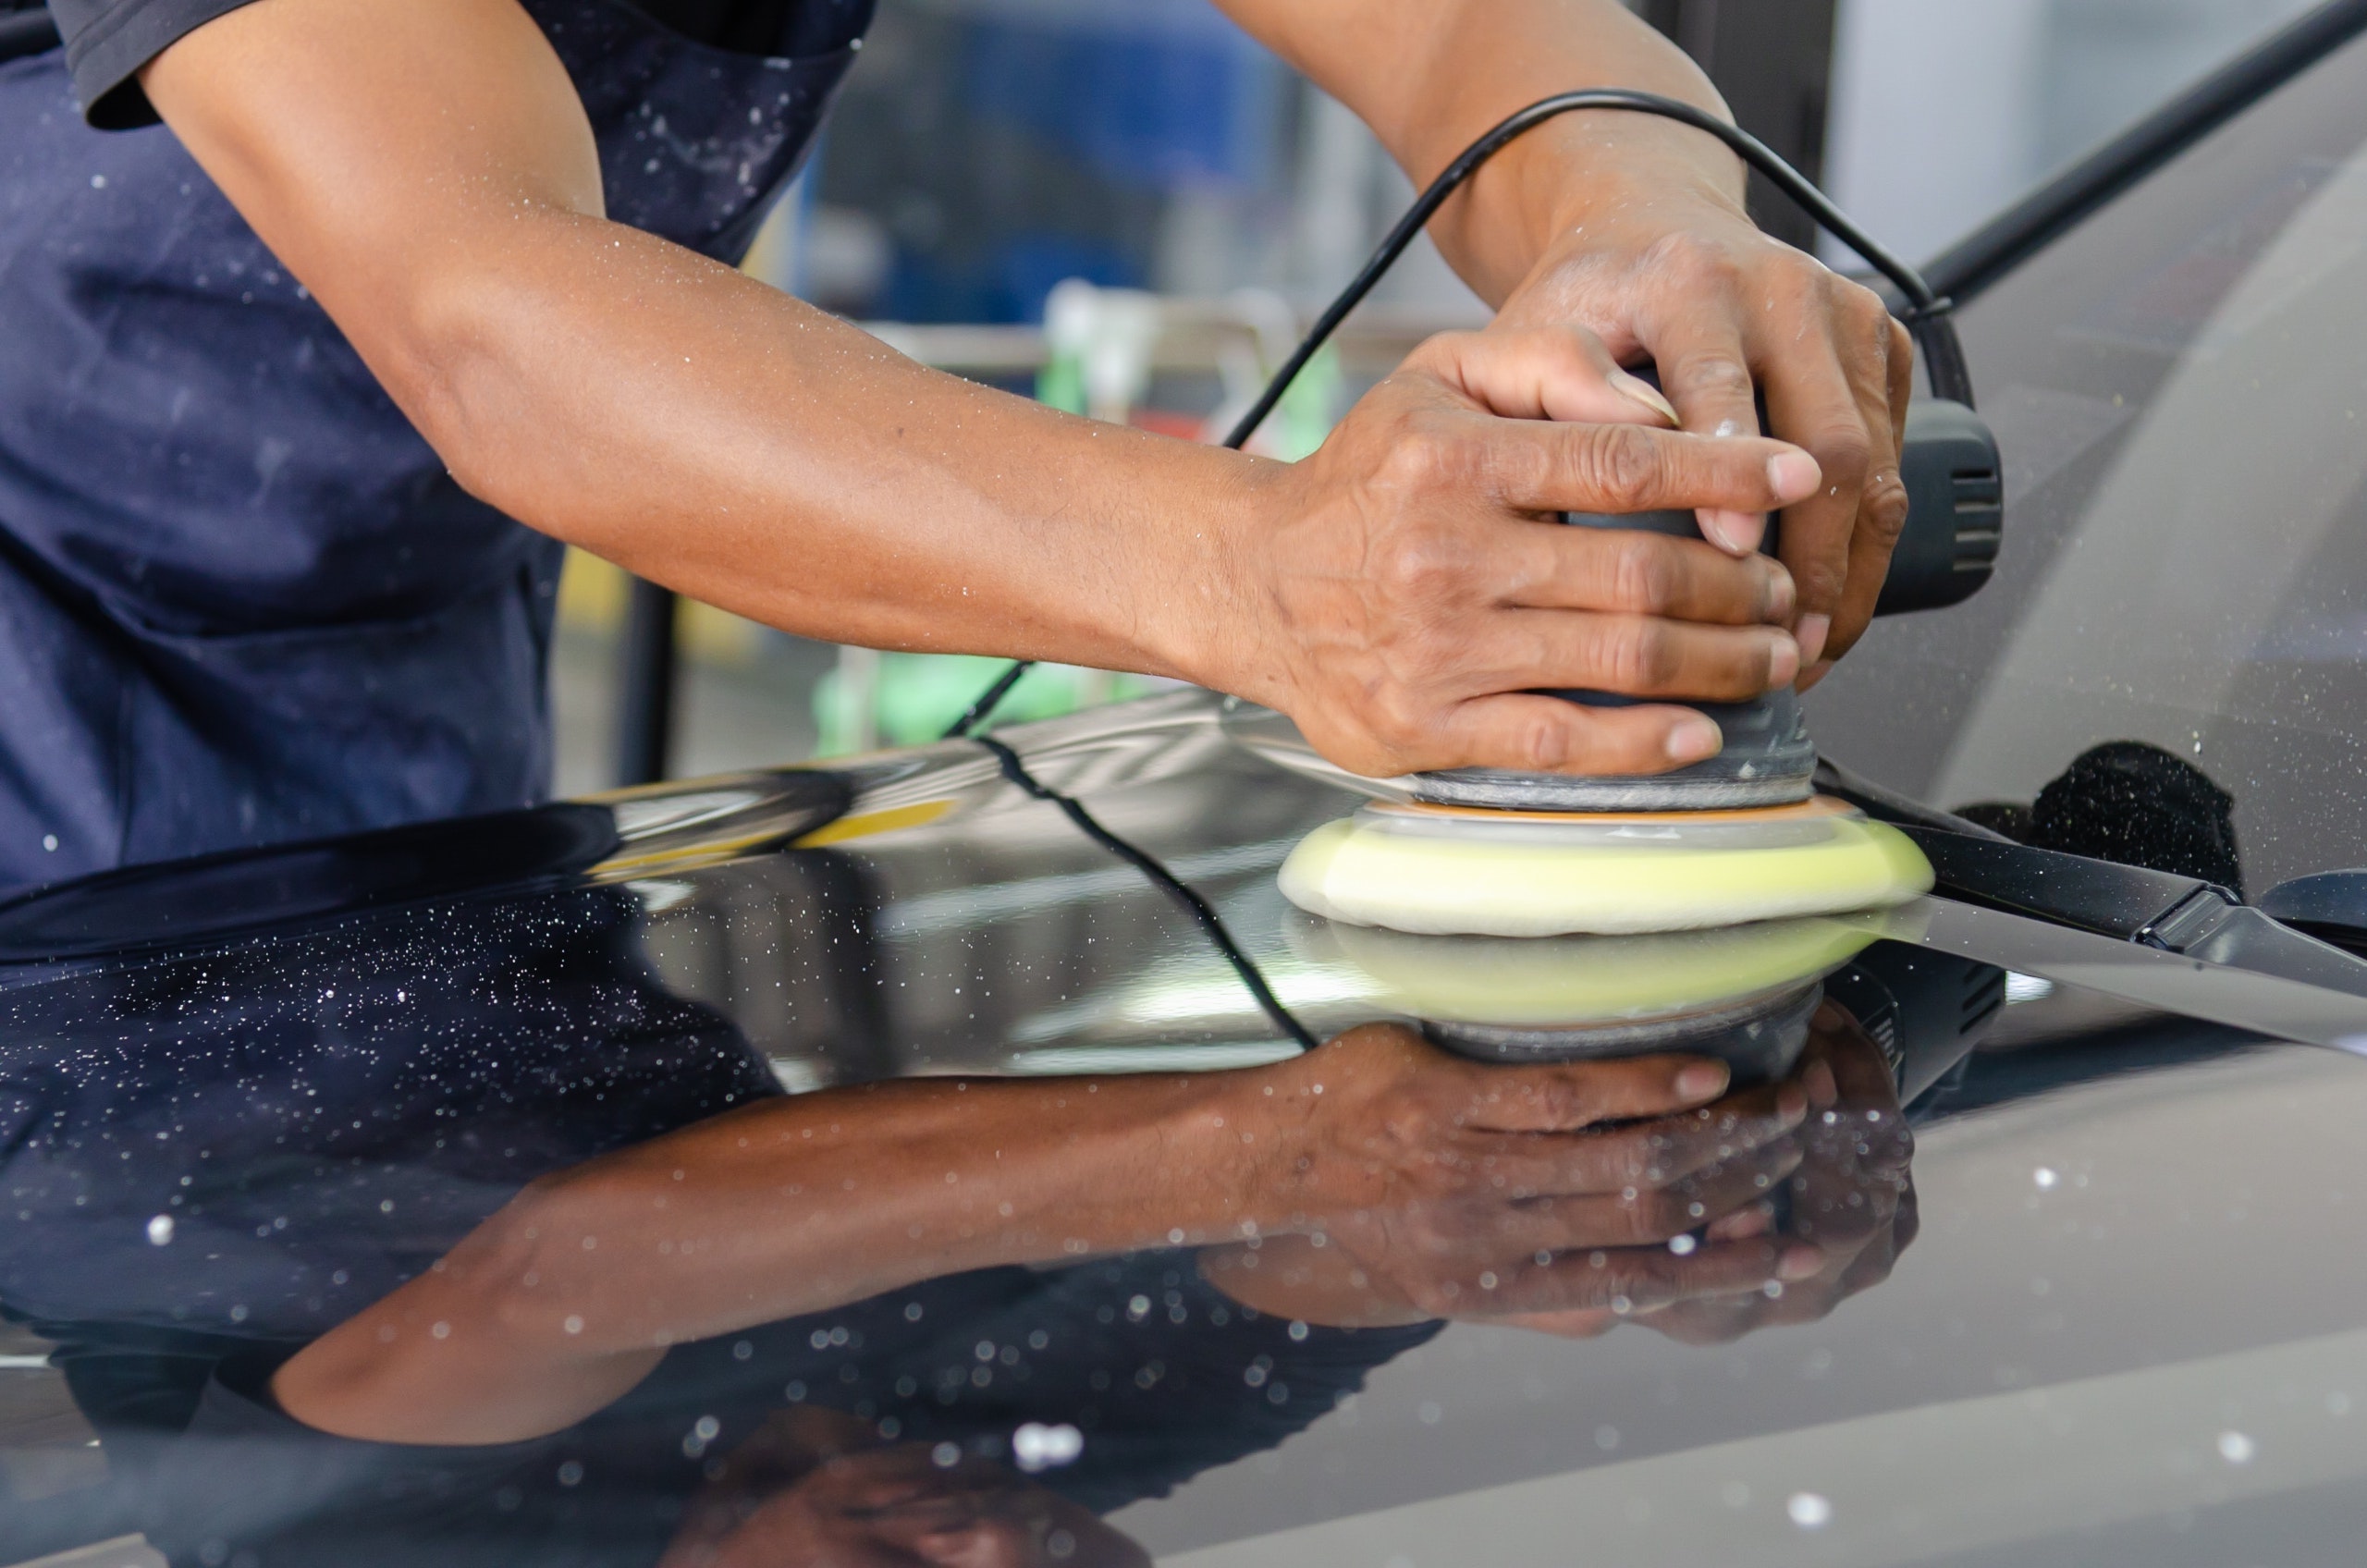
- Sanding and Buffing: After the clearcoat has dried, the body is sanded and buffed to achieve a smooth and glossy finish. This may involve using fine-grit sandpaper, polishing compounds and buffing pads.
- Final Assembly: Finally, all of the parts that were removed from the car, such as trim and chrome, are reassembled.
It is important to note that this process should only be undertaken by a professional auto body shop or experienced hobbyist who has the proper tools, equipment, and knowledge to do the job correctly. A poorly executed respray can result in a substandard finish and potentially decrease the value of the classic car.