
Let’s take a look at the basics of welding up a classic car.
Welding is a commonly used method for repairing and restoring classic cars. Here is a step-by-step guide on how to weld a classic car:
- Prepare the Area: Clean the area that needs to be welded and remove any rust, paint, or dirt that may interfere with the welding process.
- Choose the Right Welding Technique: There are several welding techniques that can be used on classic cars, including MIG welding, TIG welding, and stick welding. The choice of technique will depend on the type of metal being welded, the size and location of the repair, and the welder’s skill level.
- Prepare the Metal: Before welding, the metal needs to be heated to the correct temperature to allow the welding process to proceed smoothly. The heating process will depend on the type of welding being used.
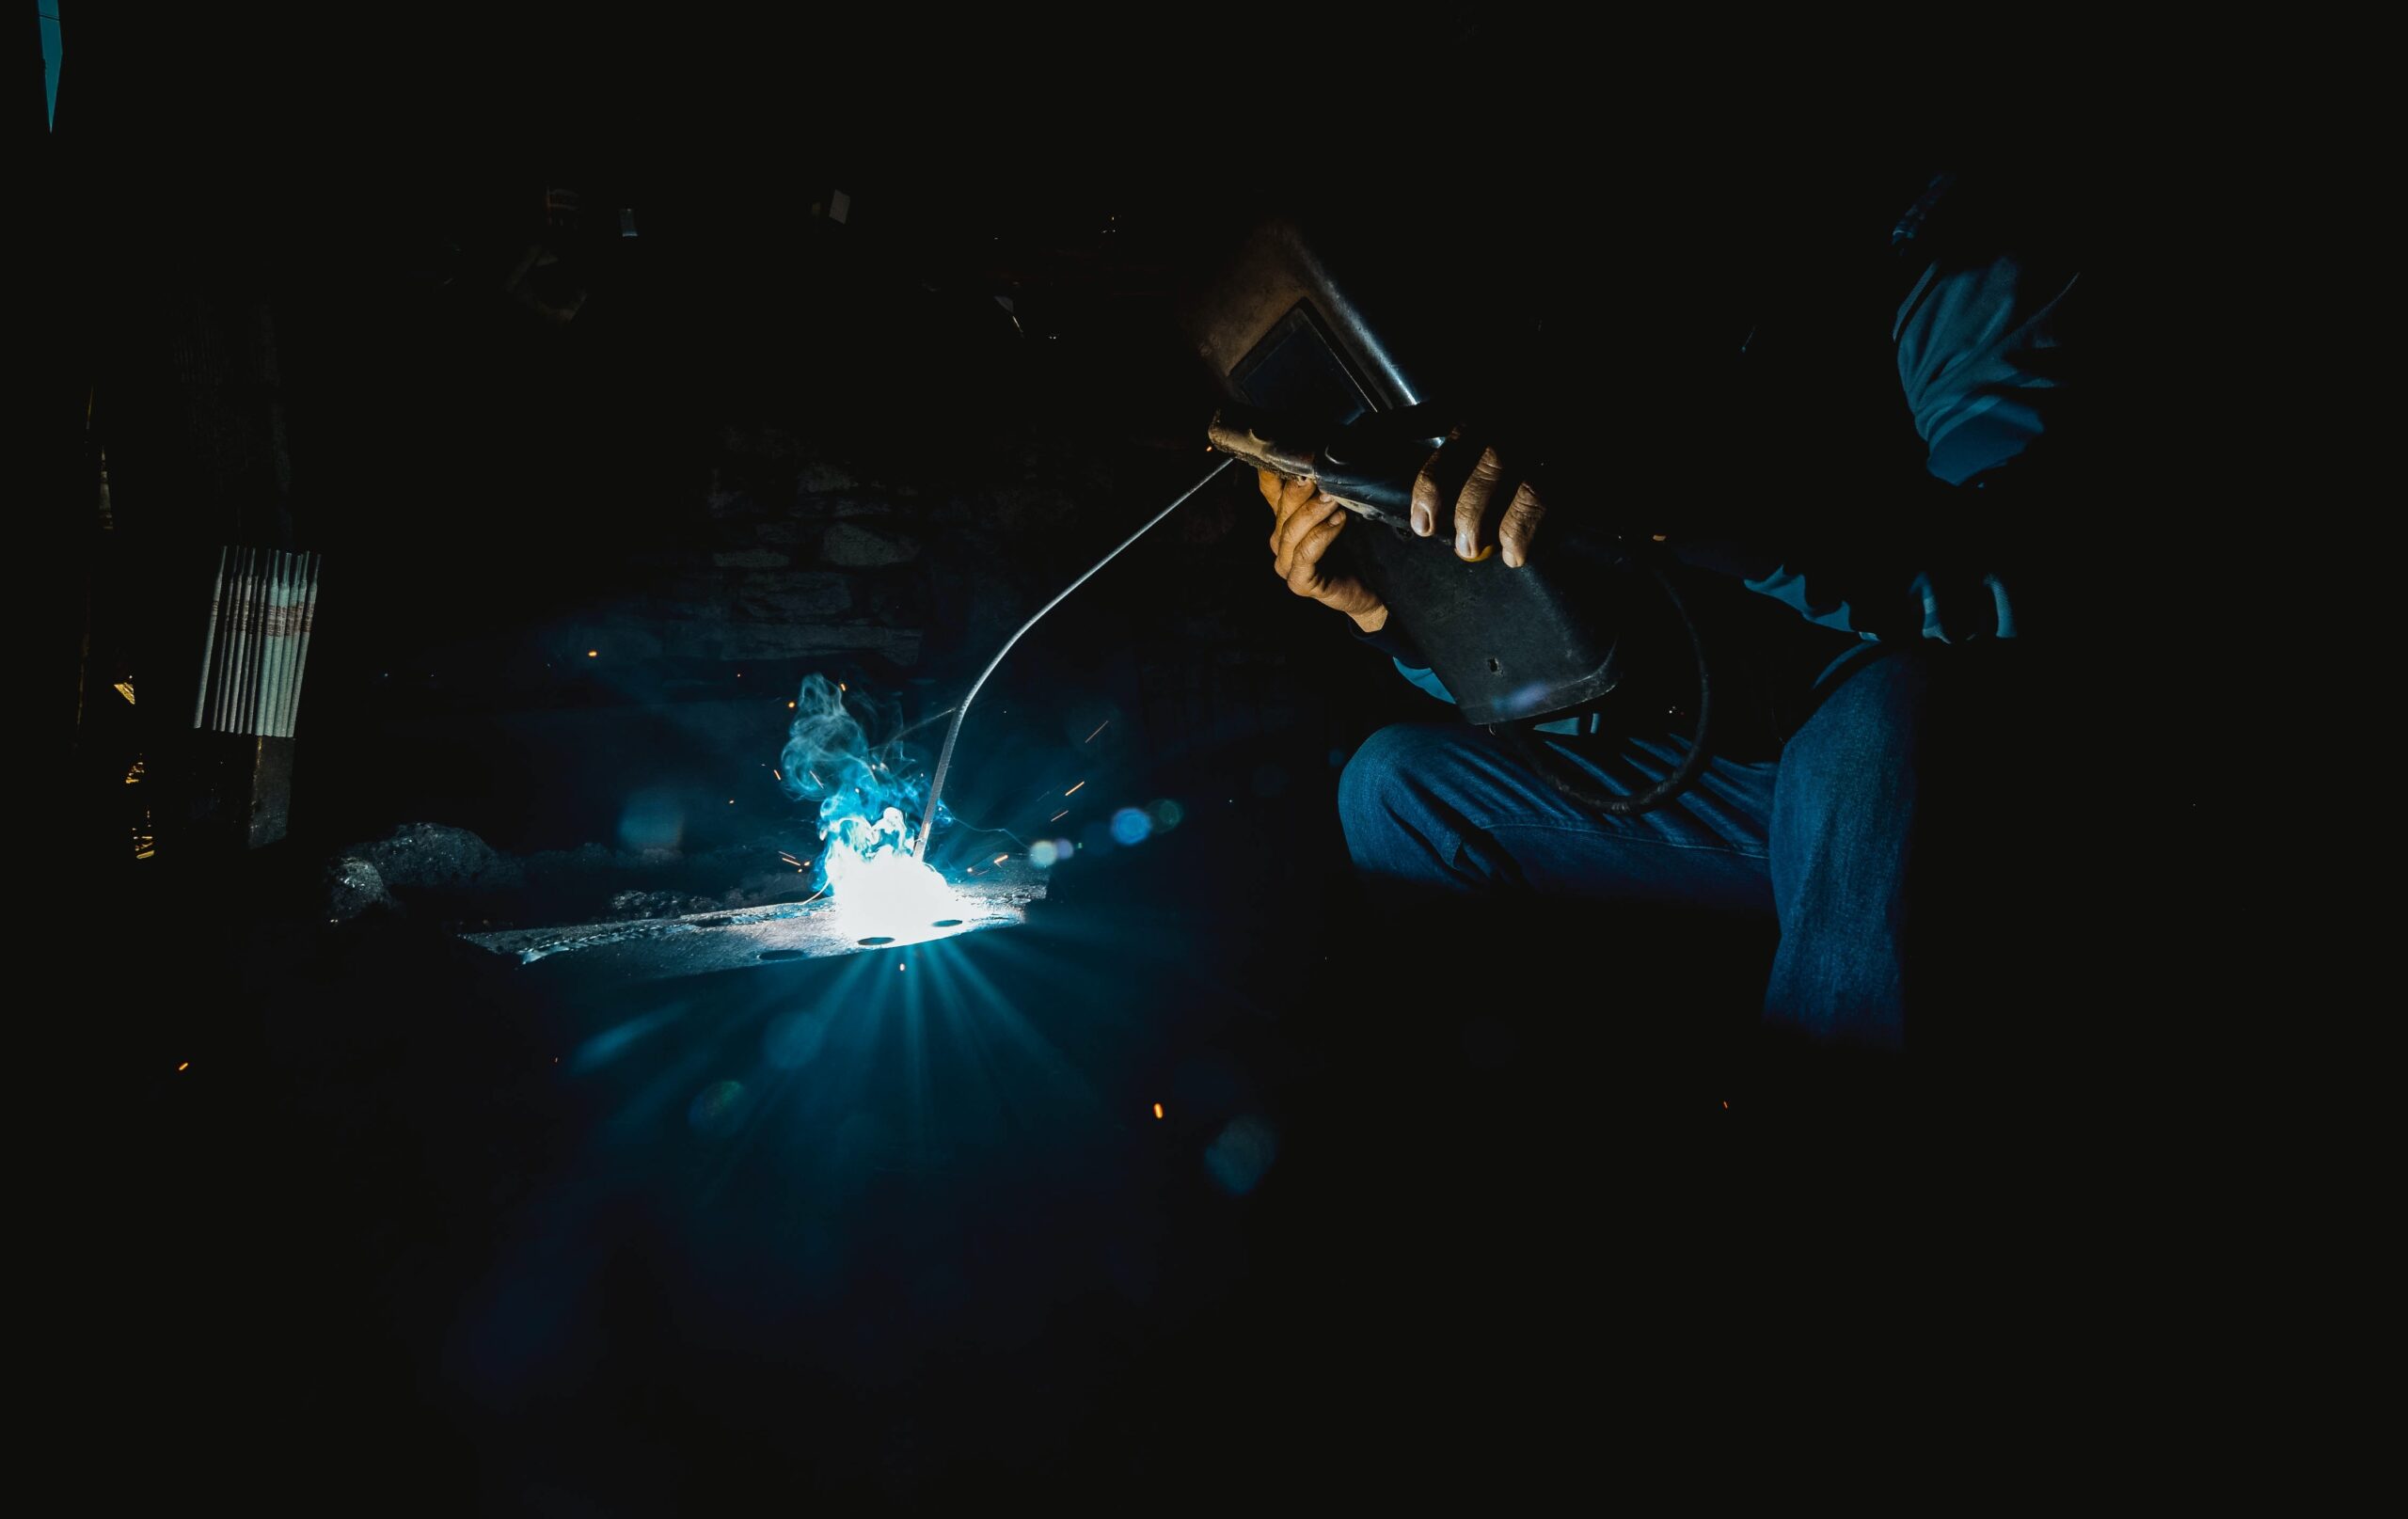
- Weld the Metal: Once the metal is at the correct temperature, the welder can begin welding. It’s important to make sure that the welding gun or electrode is at the correct angle, and that the welder is maintaining a consistent speed and pressure.
- Clean the Weld: After the welding is complete, the weld should be cleaned to remove any slag, oxidation, or other impurities that may have accumulated during the welding process.
- Finish the Weld: To finish the weld, the welder can grind, sand, or file the weld to smooth it out and achieve the desired shape.
It’s important to note that welding a classic car is a complex process that requires a high degree of skill and experience. Improper welding can result in structural weakness and potentially dangerous failures. If you’re not confident in your welding skills, it’s best to have the work done by a professional.